Wednesday 9 December 2015

Flowering and Fruit Development

Flowering
Flower buds appear in the axil of each leaf beginning above the six- to eight-leaf stage. In our plants the flower buds start appear after 5 week growth. Unfortunately, the flower buds have been eaten by the pest and fallen. But after 4-5 weeks, the flower bud appear again. For the young flower to develop into a mature flower, it take about 2-3 weeks.
The lowest flower bud on each stem opens soon after sunrise and closes in the middle to late afternoon.


Fruit
The fruit start to developed after the flower fall. It take about 1 week to developed into a mature pod.


The fruit start to develop after the flower fall. It take about 1 weeks to develop into a mature pod.

Sunday 6 December 2015

Week Twelfth Growth Condition (7/12/2015-12/12/2015)

In week 12th growth, both plant start forming fruit (pod). The new forming fruit haven't develop into mature fruit and have a smooth surface. When the fruit growing, it increase in size and we can see it consist of the trichomes on it surface. The flower is in pale yellow colour with dark purple at the base. It will flowering at the early morning and close at afternoon and the flower was eventually wilt and dropped. The plant going more healthier with increasing in their height (both plants 55 cm) and the size and number of leaves increasing. Some of the leaves were going to senescence. The edge of the leaves become brown and dry and the leaves start to turn its colour into yellowish. Besides that the stem also become more thicker. At the end of this week, the pods was attacked by the pest.


7/12/2015 (Monday)
Flower buds that fallen from the plants.

Pot A:
More leave growth and the fruit was formed.


Flower buds and fruit
                                                                       
                                                                                                                fruit
 

Pot B:
In pot B, more leaves are growing and two new fruits are formed. Some of the leaves have yellowish colour at their edge.


Flower buds and Fruit


8/12/2015 (Tuesday)
Lady's finger fruit in both plants increase in size.
Pot A:

Pot B:


9/12/2015 (Wednesday)
Pot A:
The flower appear but it was closed. The fruit increase in size and new flower bud appear.


Pot B:
New flower buds are formed and both of the fruit grow bigger. One of the leaf become yellowish 
colour with black and brown colour at the edge.


10/12/2015 (Thursday)
Pot A
The flower wilt and fallen, the fruit start to developed after flower fallen.


New fruit appear after flower fall


Pot B:


12/12/2015 (Saturday)- Last day for the project
Pot A:
Plant increase in height and size and number of leaves. The pod become more bigger and  has the straight line on the surface of pod.


Pot B
The plant grow bigger, the leave number and size increases. The flower bud and pods were attacked by the pest.


Friday 4 December 2015

Reflective Learning Diary

1. What did I learn? What was new to me? Was there something that changed my views and why?
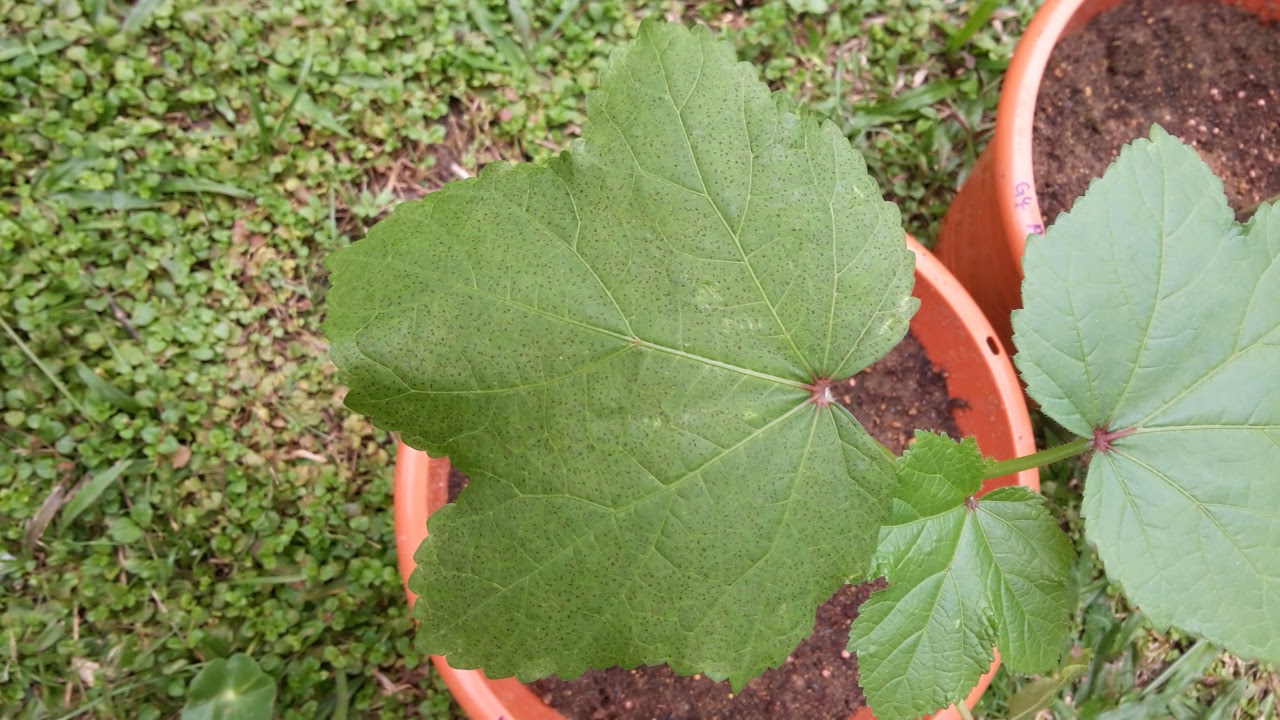
The things that I learned from this project is how to take care a plant in order for it to grow well. Growing a plant was somethings new to me since I haven't really try to grow a plant and take care of it from the very beginning to the end. Even though I had planted some kinds of flowers before but I never really take care of them after they had germinated or didn't germinated. Initially, planting was somethings that are boring to me and I so wonder why my father who always like to walk around in his small farm at the morning and evening. By now I know it. If we are really put are time, effort and intention to grow a plant and we will make it like our baby and hope it can grow well. It was excited when see the seed become germinated and first leaf come out then the flower buds and fruit. It will be so sad if there are any infection or damage to it. So I had change my view that planting is not a boring matter to do and it is not a simple thing to grow a plant nicely and healthier. Now, I had a new comprehension and interpretation or annotation to plant in my mindset.

2.  What went against my own ideas? Why? 
The thinngs that went against my own ideas was I expected the fruit will formed around two month since the  flower buds were formed at week 5 but unfortunately it was eaten by insect. Luckily, the flower bud form again  at week 9 and fruits were developed. Second was the pest infection.Although the fruit was developed, it was attacked by the pest at the last day of week 12. This might be my false since I didn't make the precaution steps to protect my plant from pest.

3. How have I learned or not learned best from this project.
I learned best from this project when I really spent my time to look after these plants, concern on their growth by observing their change and development . 

4. Why did I learn from this project?
I able to learn from this project because I really put my intention on it.  I try to get rid of my mindset that plant is something so uninteresting. I get use of this opportunity to understand the plant in more deeper way and trying to find anythings that I never know or not really take note before from the plants. For example, my home got plant many lady's finger and also other crops and flower. I never think want to know more on these plants. This is my first time that really observing a plant on their appearance and their development.

5. What the course has taught is likely to have some relevance to the project. Can you identified what this is? How are you able to apply this knowledge in your project? How does this support your development as a student?
I think the course that have been taught which is likely to have relevent to the project is subject  BSM4503. When I am observing the change and development in the plant along of this project, I  try to link and understand the development programmed happened in the cell and those molecular events that have been taught with their phenotype and appearance. 

6. If I were do this project all over again, what would I do differently to enhance my learning.
If I were do this project all over again, I would like put more care to my plants to avoid any infection by the pest and choose the type of soil which are more suitable for the grow of lady's finger. Besides that I would like to grow another type of plants and get more understanding to their physiology and life cycle .

7. Suggestion for this project.
This project is good and very related to the course and can be continue in future. If it is possible to have a mini garden for this project in Biotech 1, then it will be more convenient to student and I believed student will able to put more effort to taking care of their plant.


In short, this is a good experience for me and the learning process is more efficient by related what have been taught in the lecture with this project.

About Lady's Finger Plant

Classification 
Lady's finger, is a tall-growing, warm-season, annual vegetable. It is a flowering plant belongs to Malvaceae or mallow family.

Scientific name: Abelmoschus esculentus
Common name: Okra, gumbo, lady's finger, bendi, Yang Jiao Dou, bhendi, balmiah


Structure and Physiology:

  • It is a perennial,  semiwoody, fibrous, herbaceous annual with an indeterminate growth habit plant
  • Grow 3-6 feet (0.9-1.8 m)or more in height
  • The leaves are 10–20 cm long and broad, large, alternate, palmate leaves with small stipules.
  • The flowers are 4–8 cm in diameter, with five white to yellow petals, often with a red or purple spot at the base of each petal. 
  • The  fruit is a capsule up to 18 cm long with pentagonal cross-section, containing numerous seeds.
  • Mature pods dehisce, releasing round, very hard, dark-green or brown seed. 
  • Red pigmentation can also occur in various part of plants such as in stems, petioles, leaf veins, pedicel, and petal bases.
  • Carries unicellular trichomes on almost all parts of the plant, providing protection from pests such as leafhoppers 
    
Image obtained from my house          


Lady's finger plant grow annually in temperate climate,cultivated throughout the tropical and warm temperate regions of the world. It will reaches maturity in 50 to 65 days.

Conditions for plant growth

1. Soil

Lady's finger plants can be grown on a wide range of soil types, although rich, sandy loam soils are optimum. It is most important that the soil be well drained and not prone to waterlogging.  It is slightly sensitive to excess soil acidity and the optimum soil pH range for okra is 6.0 to 7.0. The optimum soil temperature for germination is 75 to 90 ˚F (24 to 32 ˚C).

2. Irrigation
Lady's finger plants are tolerant of dry weather, but it is actually sensitive to moisture stress.  In general,  the effect of moisture stress depends on the phenological stage of the plant. The flowering and pod filling stages are critical, and water stress at this time can reduce yield >70%. When the plants suffer from lack of moisture, it will start to drop its leaves. Pod and leaves will drop if the drought continue and finally plant will die. Regular watering is needed and is particularly critical during flowering and pod development. A general recommendation is to apply 1 to 1.5 inches (25 to 38 mm) of water per week.

3. Light Requirement
Lady's finger thrives in the full, hot sun. 

3. Pest Managment
Insects- there are two group of insects pests: foliage feeders and pod feeders. 
Examples:aphids, stinkbugs, corn eartworm. thrips, mites flea beetles and grubs


Harvesting
Lady's finger plant reaches maturity in 50 to 65 days where the first harvest will be ready about 2 months after planting. The plants can produce for ten to 12 weeks. It grows and bears seed pods .


Uses
Leaves: The tender leaves of okra are often consumed as a vegetable in areas where a wide variety of leafy greens are used in the diet (e.g., western Africa, southeastern Asia).

Fruit: Can be boiled, added to soups, or sliced and fried the pod and serve as a dish.

Other uses of lady's finger plants including:
-Mature dried seed can used as a coffee substitute
-Oil and protein source
-making curd from seed
-fiber from stem used to make paper pulp
-Lady's finger stems can be burned as inexpensive fuel
-Pod that are boiled produce mucilage that used as a spreading agent in the manufacture of paper in Malaysia.


References:

  1. Lamont, W. J. (1999). Okra—A versatile vegetable crop. HortTechnology9(2), 179-184.
  2. How to grow okra. Retrieve from https://www.southernstates.com/articles/growing-okra.aspx


Tuesday 1 December 2015

Pest Infection and disease

There are different type of insect attack the plant leaves and laid egg at the lower surface of leaves.
whitefly


leafhopper

                                          bollworm


The leaf bitten by the insects, become unhealthy, forming black dots, and eventually died. The images below show the symptoms and appearances of some infected leaf. The newly form flower buds also has been destroyed by these insect and fall.


Leaf disease
Leaves were infected by a disease that cause the present of tiny black dots spread on the leaf surface. The disease may due to fungus or bacteria infection.